"I opened the garden shed at the end of March to get the lawnmower out. The garden furniture cushions had been torn open, there was a nest in the bird seed container, and the sheathing on the mower's cable was stripped bare." This homeowner in Saint-Maur-des-Fossés had done everything right inside his house: door bottoms redone, new grilles on the basement vents, not a crumb in the kitchen. But he had forgotten that his garden contained a second building, one he hadn't opened since 2 November.
The garden shed, the tool cabin, the detached garage, the bike store at the back of the plot: these are the unheated, unvisited outbuildings of a suburban house. From November to March, they bring together the three conditions a rodent looks for: a temperature higher than outside, a complete absence of human disturbance, and a supply of gnawable materials and sometimes directly available food. This is where many infestations of suburban homes begin — before reaching the house in spring, or as soon as the first serious cold snap hits.
This blog has already covered the cellar, insulated attics, drainage pipes, the garage on the car side and the compost bin. This article deals with a distinct subject: the garden's outbuildings, their autumn inspection, their organisation and their sealing, including the particular constraints of a lightweight structure set on a slab or on pads.
Why the outbuilding comes before the house
A rodent doesn't go for maximum comfort: it goes for the best compromise between warmth, safety and food. An occupied house is warm but dangerous: people coming and going, light, vacuum cleaner, dog or cat, smells. A garden shed closed up for a whole winter is less warm, but safety there is absolute.
Three species occupy these outbuildings in the Val-de-Marne.
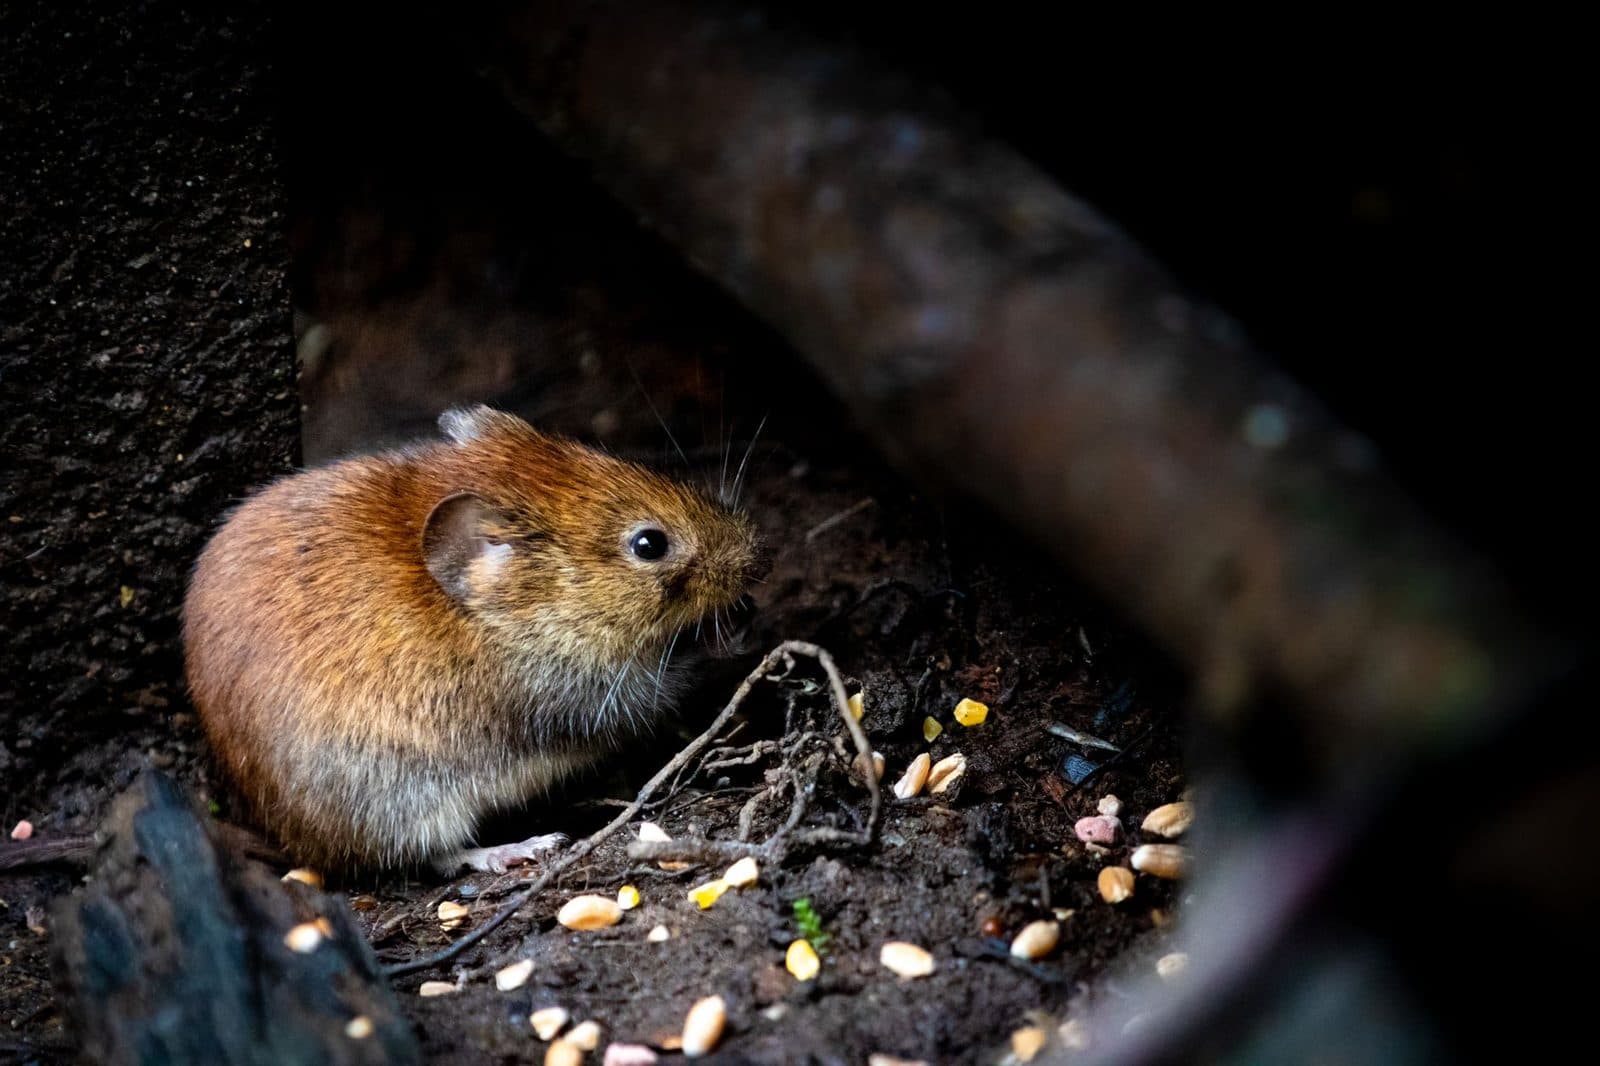
The wood mouse (Apodemus sylvaticus), recognisable by its large black eyes, big ears and clearly white belly. It is the first occupant of cabins at the far end of a garden, especially if the plot backs onto an embankment, waste ground, a railway line or riverbanks. It hoards: finding a handful of seeds, hazelnuts or bulbs inside a rubber boot is its signature.
The house mouse (Mus musculus), uniformly grey, which generally comes from neighbouring buildings or from the house itself and spreads to the outbuildings.
The brown rat (Rattus norvegicus), which doesn't live in the shed but visits it and burrows under the slab, especially if a compost bin, a chicken coop or a food-waste bin is less than ten metres away.
Field rule: droppings of 4 to 6 mm, like pointed grains of rice = mouse or wood mouse. Droppings of 15 to 20 mm, banana-shaped, shiny then matt = brown rat. In the second case, you never treat the shed alone: there is a burrow nearby.
The five resources your shed offers them without your knowing
An "empty" garden shed never is. Here is what technicians find there again and again.
1. Bird seed and animal feed. A bag of sunflower seeds or a bucket of chicken pellets is, in calorie terms, the equivalent of a larder. It is by far the number one cause of colonisation. Anything edible must go into a metal container with a clip-on lid — thin plastic is pierced in a single night.
2. Soft textiles. Garden furniture cushions, barbecue covers, an old blanket, floor cloths, rags, work jackets: ideal nesting material. A wood mouse nest in a sun-lounger cushion takes three weeks.
3. Bulbs, vegetable seeds, potatoes and stored apples. A crate of potatoes in a cabin is a beacon.
4. Insulation and sheathing. Glass wool from a false ceiling, foam from a ride-on mower seat, electrical sheathing, garden hose, brushcutter cable. Damage to garden equipment is common and rarely covered without forced entry — the subject is developed in our article on what home insurance covers in the event of rodent damage.
5. The sheer volume of hiding places. Stacked pots, opened bags of compost, cardboard boxes, pallets, rolled-up tarpaulins, woodpiles. This isn't a food resource but it is what makes the shed safe: a rodent travels along walls, never across the middle of an open space.
The autumn inspection: forty minutes, a torch and a broom
To be done once, ideally now, before closing up the shed for the winter.
Empty it out and sweep
You empty the shed down to the bare floor. This is non-negotiable: no serious inspection is possible with pots stacked against the walls. Sweep, then examine the floor in the raking light of a rechargeable torch held ten centimetres above the floorboards: runways show up as slightly cleaner or greasier bands along the skirting.
Read the signs in order
| Sign | What it means | Age |
|---|---|---|
| Soft, shiny, dark droppings | Active presence, less than 48 h | Recent |
| Dry, grey, crumbling droppings | Old activity | 2 weeks or more |
| V-shaped tooth marks on softwood | Routine gnawing to wear down incisors | Variable |
| Fine sawdust + pale shavings at the foot of an upright | An opening being created | In progress |
| Blackish greasy mark on a wooden corner | Repeatedly used runway | Long-term colonisation |
| Shelled seeds gathered together | Wood mouse larder | Colonisation |
| Ammonia smell on entering | Accumulated urine, established population | Advanced |
Look low down and underneath
In a lightweight structure, 80% of entry points are at floor level:
- the junction between the wooden floor and the joists, especially if the shed is on pads: the space under the floor is a ready-made burrow, sheltered from the rain;
- the edge of the concrete slab if the shed was set down without being anchored: a 1 cm setback is enough;
- the passage of an electrical cable or garden hose through the wall, almost always drilled too wide;
- the bottom of the door, frequently warped by damp: an 8 mm gap lets a mouse through, a 25 mm gap a rat;
- a low panel that is swollen, delaminated or rotten from splashing water and contact with the soil.
Sealing a lightweight structure
The principle is the same as for the house — any opening wider than 5 mm is a door — but the materials differ: you are working on thin timber, sheet metal or PVC, not on masonry. Our guide to sealing materials that stand up to rodents sets out the general rules; here are the adaptations specific to outbuildings.
The bottom of the door. The most durable solution is a screwed-on metal threshold strip or kick plate across the full width, overhanging by 3 cm on each side. A simple draught excluder or brush strip won't last a week.
Gnawed corners of uprights. Don't patch with filler. Screw a galvanised steel angle bead onto the corner, over a height of 30 to 40 cm. A rodent gives up on a corner it can no longer get its teeth into.
Cable and pipe penetrations. Fine metal mesh packed into the opening, then filler or repair mortar on top. Never expanding foam on its own: it is a soft material that rodents get through in a few nights, digging a neat tunnel in it.
The underside of a shed on pads. Two options. Either close off the perimeter with fine metal mesh (6 mm maximum) buried 20 cm deep and folded outwards into an L over 20 cm, to block burrowing. Or clear the underside completely — gravel, no storage, full visibility — so that the space loses all appeal. The half-measure (a tarpaulin, a few planks) is the worst solution: it creates the shelter without preventing access.
Air vents. A shed needs ventilation. You don't block it up: you replace the original plastic grille with a fine-mesh stainless steel vent grille, screwed in place. The reasoning is identical to that for cellar vents, set out in our article on sealing the access points of a suburban cellar.